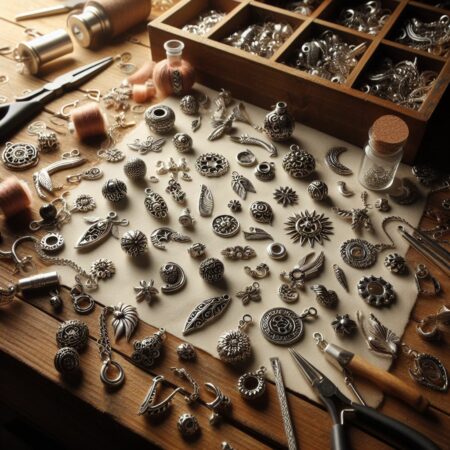
It’s a good idea to engage in jewelry preparation before you start stringing them. This will save you time and money. Examine magazines, books, and the Internet for ideas on making the styles of beaded jewelry you wish to produce. Gather and store images of finished jewelry, unusual beads and findings, and colors or other visual inspiration.
Like the clothes you wear, the jewelry you choose reflects your personality and unique style. You will always feel secure if you create jewelry that you adore.
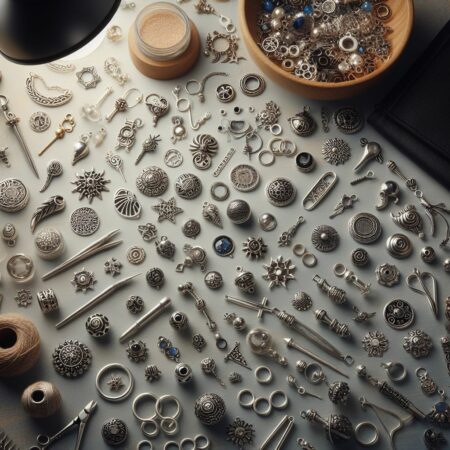
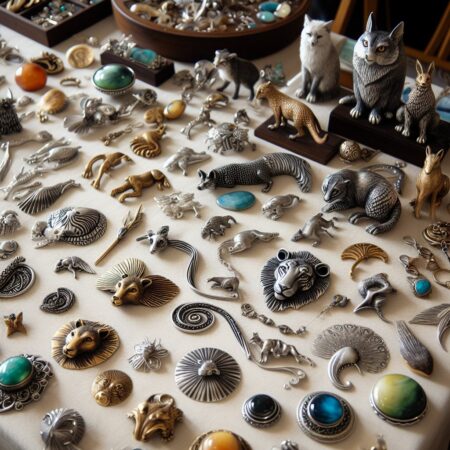
You can make jewelry as straightforward or as elaborate as you choose. A single size, shape, or color of bead, or a combination of those design aspects, can be used to create a unique yet straightforward product. Using graduated sizes of one form of a bead or a range of bead shapes in a similar size can create a more intricate design. The most complicated designs may include a variety of bead sizes, shapes, colors, and many strands of beads.
Regardless of jewelry style, some jewelry preparation must always be made first. It is critical to take precise measurements. Jewelry that is too tight might be uncomfortable to wear, and a piece of jewelry that is too loose can be easily misplaced. Before you go shopping, figure out how many beads you’ll need and the length of stringing material you’ll need. This will ensure you buy enough beads and materials while also decreasing costs. When calculating the overall length, remember to account for spacers, clasps, and other findings.
Finally, it is helpful to use a beadboard to layout and arrange your beads before stringing them. This allows you to see your design and reposition the beads without wasting materials or time restringing.
Jewelry Preparation Step One: The Complete Guide to Jewelry Lengths
It’s crucial to get the right length while constructing beaded bracelets and necklaces. This is essential for jewelry preparation. First, measure the wrist or neck of the individual who will wear the finished piece of jewelry whenever possible. Even though conventional bracelet and necklace lengths are different, everyone’s dimensions are different.
Determine the tightness or looseness of the bracelet before beginning to make it. Another consideration is the number of times the bracelet will wrap around the wrist. With these considerations in mind, measure the wrist of the individual who will wear the finished bracelet.
When it comes to necklaces, the length should first and foremost fit the wearer’s neck size. There are six different necklace lengths to think about. Add an extender chain if you’re making a necklace as a gift or aren’t sure how long the recipient’s neck is. To add some more length to a short chain length, use a split ring or crimp. Then, add a drop or a little charm to the extender chain’s end for a professional look.
- Collars range in length from 12 to 13 inches and are made up of two or more strands that fit tightly around the neck. Collar-style necklaces look well with boatneck, V-neck, and off-the-shoulder outfits.
- The length of the choker is fourteen to sixteen inches, and it is worn slightly above the collarbone. This timeless and flexible shape combines everything from casual to formal wear and matches most necklines.
- Princess length is one of the most popular lengths, measuring 16 to 18 inches long. All look excellent with princess-length necklaces, crewnecks, high necklines, and plunging necklines.
- A matinée is 22 to 24 inches, and the length of an opera is usually 30 to 32 inches. Both ideas are adaptable and appealing. With a high neckline, these necklace lengths can be worn as a single strand or doubled, or as a double-strand choker with a moderate neckline. Opera-length necklaces were once reserved for formal evening wear, but they are now worn with various outfits.
- The length of the rope or lariat must be at least 45 inches. This opulent length is both graceful and striking. A rope-length necklace can be worn as one long strand, doubled, or tripled for a remarkable and adaptable effect. It can also be worn thrown over one shoulder or down the back to complement a backless dress.
- Bib-type necklaces are made up of numerous strands of beads, each longer than the one above them.
When choosing a necklace length, another thing to think about is the outfit’s neckline you want to wear it with. Here are some popular necklines and necklace lengths to think about.
- From shoulder to shoulder, boatneck necklines run directly across the collarbone. Shorter necklace lengths, especially ones with some substance, appeal to this neckline.
Button-up collared shirts are a timeless style that complements a wide range of necklace lengths. Wear a multi-strand necklace outside the collar or a short delicate necklace peeking out from the collar for a subtle touch of sophistication for a glamorous style.
- A classic, all-American neckline is the crew neck. Longer or stacked necklaces complement this neckline wonderfully. In addition, a crew neck collar tends to cover short chains.
- Scoop necks are incredibly feminine. Therefore delicate necklaces go well with them. Necklaces were worn with a scoop neck look best when worn at or just below the collarbone.
- Collars with a V-neck stand out. Necklaces with pendants and layered strands draw attention to the neck and collarbone. Please make sure the necklace is 12 to 1 inch above or below the V’s base so it doesn’t get hidden behind the fabric.
- Necklines with beading, frills, or a lot of drapery don’t require any further embellishment. Accessorize with a stack of bracelets or a pair of statement earrings instead.
Determining Bead Quantity
When you’re done with the primaries of jewelry preparation and ready to go shopping for beads and supplies, figure out how many beads you’ll need for a specific bracelet or necklace project. The size of a bracelet is determined by the wrist measurement and the bracelet style. Likewise, the length of a necklace is determined by the size of the neck, the style of the neckline, and the style of the necklace.
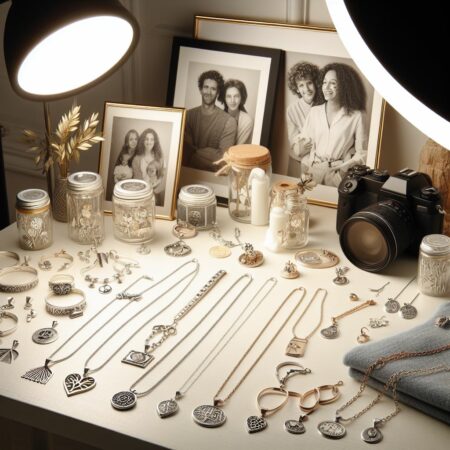
Create a comfortable, well-lit workplace for yourself once you’ve gathered all of your project materials and tools. Choose a comfortable chair that promotes excellent posture, a table or tray to set your jewelry-making tools on, and good-quality task lighting to illuminate your workspace. When working with small beads, reading glasses or lighting magnification can be helpful.
Using a beadboard to lay out the beads will help your project run more efficiently, no matter what type of stringing project you’re working on. Each channel is labeled inches and millimeters on the beadboard, with zero in the center front. Decide on the length of your finished project first. Then, calculate how many inches of beads you’ll need to lay down on the beadboard by subtracting the length of the clasp and any other findings you’re using.
Place your first bead in the center front (the zero mark) and continue to add beads on each side of it in whichever order or design you desire. Next, place an equal number of beads on either side of the central bead until the length of beads in the bead board’s channel is the correct length.
For instance, if you’re building a 16-inch necklace with 1-inch rings and clasp, you’ll need 15 inches of beads. On either side of the center bead, half of the total bead length (712 inches) should be set out. When you’re happy with your initial design, it’s time to use the appropriate technique to string your beads.